Okay, so you sold a painting. It’s a great feeling, isn’t it? But then you realize that you have to ship your painting across the country. Figuring out how to ship a painting without damaging it can be a little intimidating.
There are so many options. Do I use bubble wrap to protect the painting? Can I buy postage online or visit the post office?
When I started selling more paintings online, I realized it would be worth doing some research and figure out a system.
In this post, I share everything that I know about shipping small paintings. I will show you how to get free padded envelopes shipped to your house for free. I also figured out how to eliminate the drive to the post office.
Now, when I sell a painting, I actually look forward to shipping it. That’s because I’m prepared and I have all of the supplies ready to go.
Instead of being a chore, shipping a painting is the final send off. It’s the last step of the process and I enjoy the break from my regular work.
Table of Contents
The Supplies You Need to Ship Small Paintings
Having all the shipping supplies and equipment you need on hand is key to making this easy. It can be stressful if you have to run out and buy envelopes whenever you make a sale. It’s also a waste to do that every time.
Below is a short list of what I recommend you keep on hand and don’t let run out of stock. You can order all of this stuff online and so you don’t waste time on driving around to stores.
I will explain how I use these supplies throughout the rest of this post. You may already have some of them in your studio.
- Clear resealable bags
- Scale
- Printer
- Labels (for use with office laser printer)
- Envelopes
- Cardboard
- Newspaper or newsprint pad
- Masking tape & dispenser
The Best Clear Resealable Bags for Paintings and Art Prints
In this example I ship an 8×10 canvas panel. I recommend canvas panels for small paintings. Here is my guide to canvas panels if you’re interested in learning more about them.
The ones that are backed with wood boards are my favorite. They’re strong and easy to ship in padded envelopes.
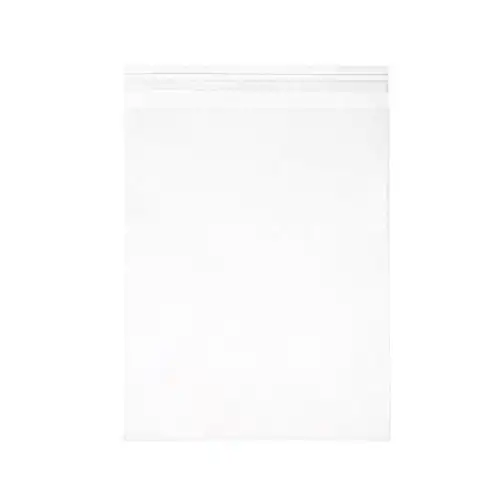
As for the clear bags, the ones that I like are below. They’re crystal clear and the size is perfect for 8×10 paintings.
I use these to ship 8"x10" paintings on canvas panels. They're totally clear and the flap is resealable.
They made them so they’re a little bit bigger, there’s about 1/8 to 1/4 of an inch extra room around the edges. That makes it easier to slip the painting into the bag.
There’s a flap with resealable adhesive on it. You can reposition the flap if you need to adjust it. The resealable flap is also nice if you need to change out the painting.
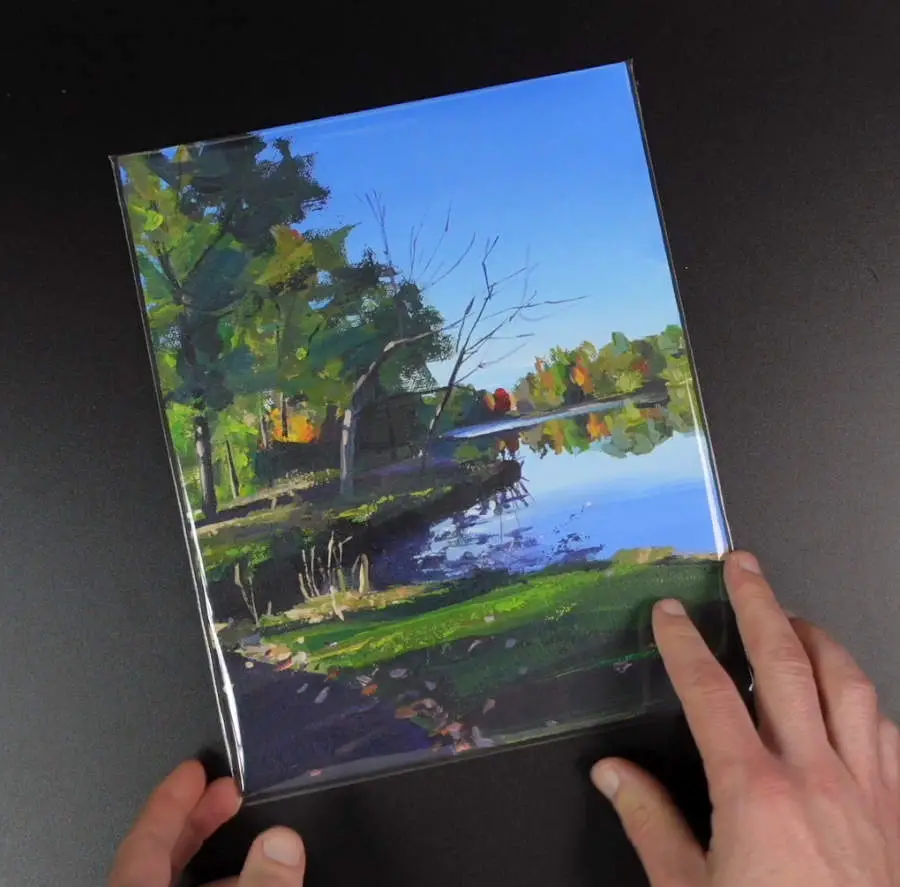
As you can see in the photo above, they’re very clear so people can easily view your paintings or photos through them.
Another benefit is they offer some protection. While they’re not watertight, they should help to protect your art from moisture if the outer packaging should get wet.
How to Protect Your Art From Damage During Shipping
As I state above, I put my painting into a clear resealable bag. That helps to protect it a little. But what about protecting the corners and the edges of the painting from dings etc.?
It helps to add I piece of cardboard that’s larger than the painting.
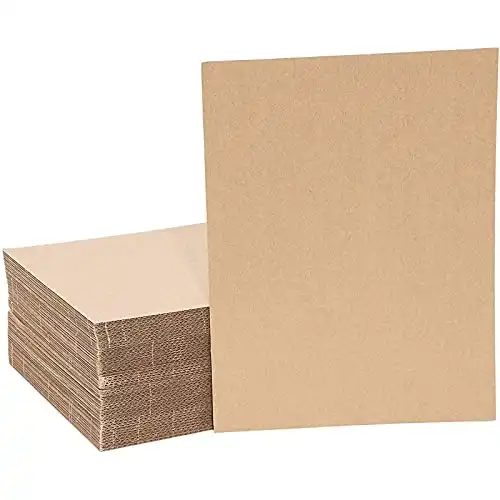
You can buy sheets of corrugated cardboard (see below). Another option is to cut down the boxes from packages that you receive in the mail.
These will fit into the 9.5"x12.5" padded envelopes from the post office.
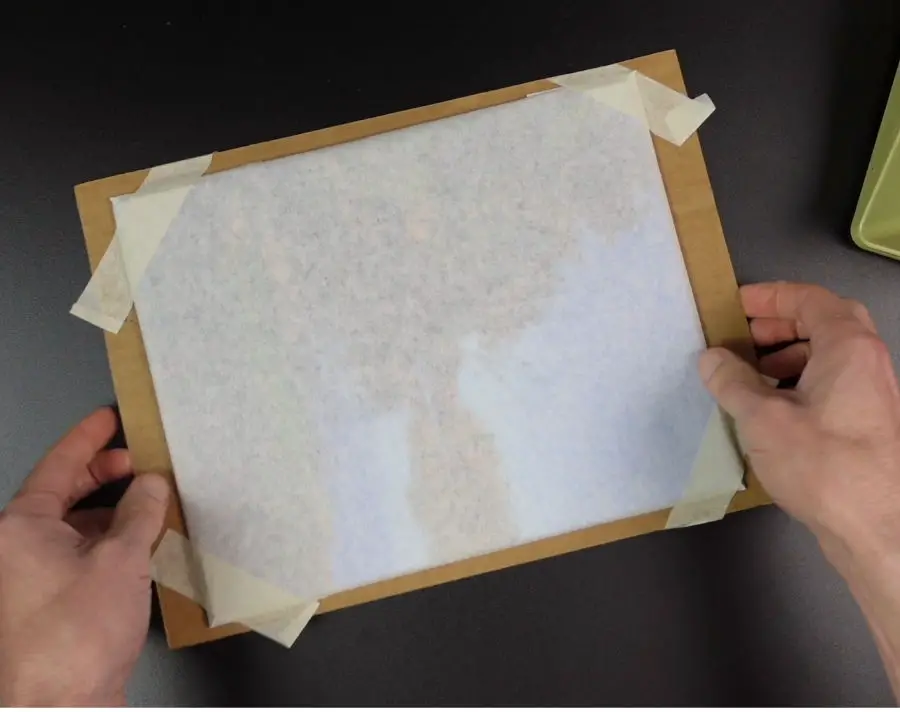
I cut the cardboard down to 9″x12″ which fits nicely into the padded envelopes that I get from the post office.
Wrapping the Painting in Newsprint Paper
The thing is that you can’t just throw the cardboard loosely into the envelope and expect it to protect the painting.
You need to find a way to secure the painting to the cardboard somehow.
That’s where newsprint comes in handy. After I place the painting in the clear bag, I then wrap it in newspaper.
If you watch the video, I tape the paper to itself without having the tape touch the painting or the bag. It’s a little like wrapping a present.
The layer of paper around the painting allows you to tape the painting to the cardboard with masking tape. You want to center the painting in the middle of the cardboard.
Having the cardboard extend around the edges of the painting will protect the edges and the corners from dings and damage.
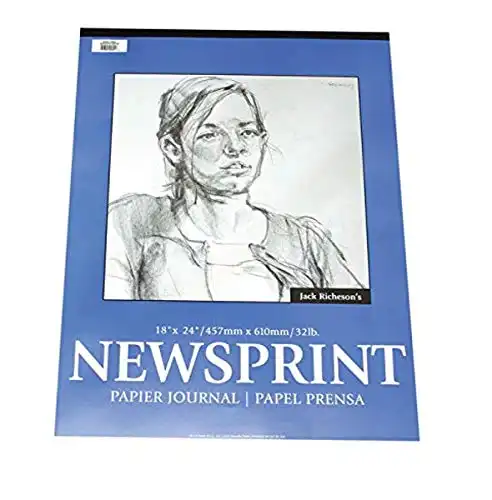
You can also use plain newsprint paper to wrap your paintings in. This looks a little more professional than newspaper. You’ll need a pad of it that’s large enough to wrap your painting. Below is a pad of 18″x24″ newsprint.
Newsprint pads are used for sketching but you can also use it for shipping your artwork.
The cardboard is not entirely foolproof, I mean if someone wants to damage the package they will find a way. But I’ve had good luck using this method so far.
The next step is to package it in a box or envelope.
How to Get Free Envelopes for Shipping Paintings
You can order free envelopes directly from the USPS website. I like to use the 9×12 padded envelope or the 1092 box that measures 12x13x2.75″. It’s possible to use your own envelopes but it makes sense to use the ones from the post office.
For one, they’re free, but they’re also approved by the USPS. I also think that they stand out more than a plain manilla envelope.
All you have to do is head over the USPS website and order the envelopes or boxes that you prefer. They’ll ship them to your house for free.
You want to plan ahead because it may take awhile for them to arrive. They’re available in packages of 10 or 15 and you can order more than one.
Maybe you could argue that the price of the envelopes are included in the price of the postage. But I have to admit that when I first started shipping my artwork through the mail about 10 years ago, I used my own envelopes.
I didn’t realize I could get them for free until a talked to an employee at the post office.
I was also writing the address an the envelope by hand, only to have that covered up by the label they printed out when I bought the postage at the post office.
Then I rethought my system and bought my own scale and labels that work with my printer.
I share my tips on printing out your own labels at home later in this post.
How Much Does Is Cost to Ship a Small Painting?
Shipping a small painting through USPS priority mail costs around $8, and that includes insurance, tracking, and a free envelope or box.
I live in New York and I’ve shipped paintings across the country to California for that price.
I use the 9″x12″ padded envelopes and I can fit an 8″x10″ painting on a canvas panel in one of those. For thicker paintings or a larger 9″x12″ painting, I use the box.
The cost of the shipping does depend somewhat on the weight of the package. But I’ve never really been able to get it lower than $8. You may be able to find cheaper ways of shipping a painting.
But you also have to think about whether it’s worth skimping on packaging and shipping. You get a lot for your money. I mean just having tracking alone makes you look more professional, and the insurance will give the collector some peace of mind too.
Original art is not something that you want to package in cheap materials.
I like the look of the official envelopes from the post office and it’s the first impression for the collector.
How Much Does a Small Painting Weigh?
An 8×10 painting on a standard 3/4″ canvas weighs approximately 6.8oz. A 9″x 12″ weighs about 8.7oz. The exact weight depend upon the thickness of the paint and the type of wood that’s used for the stretcher bars.
It can be surprising how much weight a thick layer of paint will add to the canvas. Thicker paint is more likely to crack too, and it takes longer to dry.
You can weigh your own paintings with the scales that I recommend in this post. They can weigh paintings up to 50 or 100 pounds, depending upon which one you buy.
Using a bathroom scale to weigh your paintings can be tricky because paintings don’t weigh that much. You can weigh yourself then weigh yourself while holding the painting and then you can subtract your weight from it. The result is what the painting weighs.
I don’t recommend this method though because most bathroom scales aren’t as accurate as one made for shipping.
Most of my small paintings weigh under a pound. Bathroom scales generally aren’t that precise to measure something that only weighs a few ounces.
You have to remember that you have to weigh the painting after you pack it in the box or envelope because that’s what the cost of the postage is based upon.
Printing Postage at Home
One the biggest hassles of shipping artwork is driving to the post office and waiting in line. But if you’re willing to invest a small amount of money and a little bit of time in learning, you can easily ship your paintings from home.
All you need is a scale, a printer, label stock, and some envelopes.
If this sounds daunting, let me reassure you that it’s not that hard. I even found a website that makes it a lot easier to buy and print your own postage.
Below are my recommendations for the equipment that you’ll need.
What Is the Best Scale for Shipping Paintings?
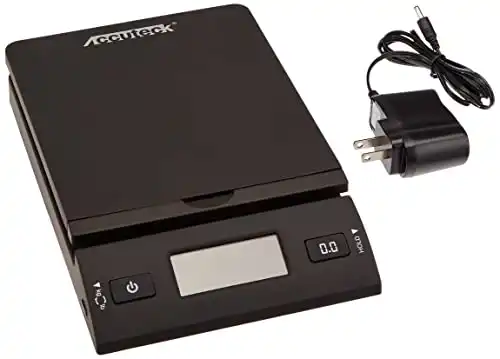
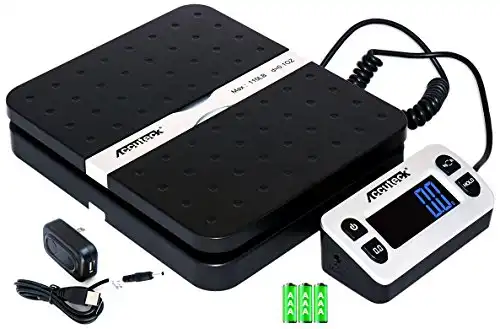
The scale that I use is the Accuteck 50 lb all in one postal scale. It’s affordable, small and accurate. You can use it with batteries or plug it into an outlet.
This is the scale that I use. It can weigh packages up to 50lbs and the top flips open to hold larger envelopes without obscuring the readout.
Below is a photograph of my scale weighing one of my paintings. A small painting fits on it without a problem.
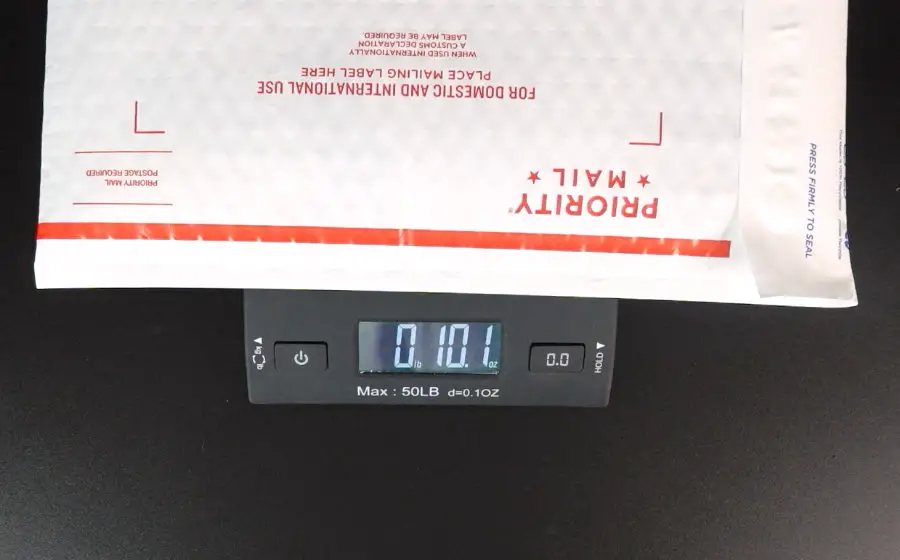
If you need something that can handle more weight they make another one that goes up to 100 pounds. It also has a detachable screen which comes in handy if the box you’re weighing is large because it would cover the readout on the other version.
This scale can weigh packages up to 100lbs. It also has an external display which will makes it easier to read when weighing bigger boxes.
The scale works in kilograms or lbs. The button on the right is what you can use to zero it out so that it’s calibrated.
It’s nice being able to use batteries because you can weigh packages anywhere in your studio without having to plug it into an outlet.
I find that the 50 pound version works for all the paintings that I have shipped.
It also has a tray that lifts up so that you can balance larger envelopes or boxes on it. The tray helps you to be able to see the readout when you’re weighing larger envelopes.
If you were to lay the envelope flat on the scale, it may cover the display. But if you pop up the tray you can lean the envelope against it and see the display without any problems.
Buying Postage Online
You can buy the postage right on the USPS website, but I like to use the Pirate Ship website. They compare pricing and it’s real easy to find what you’re looking for.
I’m not at all endorsed by them, I only recommend their site because I like how easy it is to use.
Once you log in, you just click on the button that says “create label.”
One of the nice features is you can paste the address in the top field and it will automatically fill out the proper fields for you.
Paypal sends me the collectors address which I copy to my clipboard. In pirate ship, I click on the link that says “paste address.”
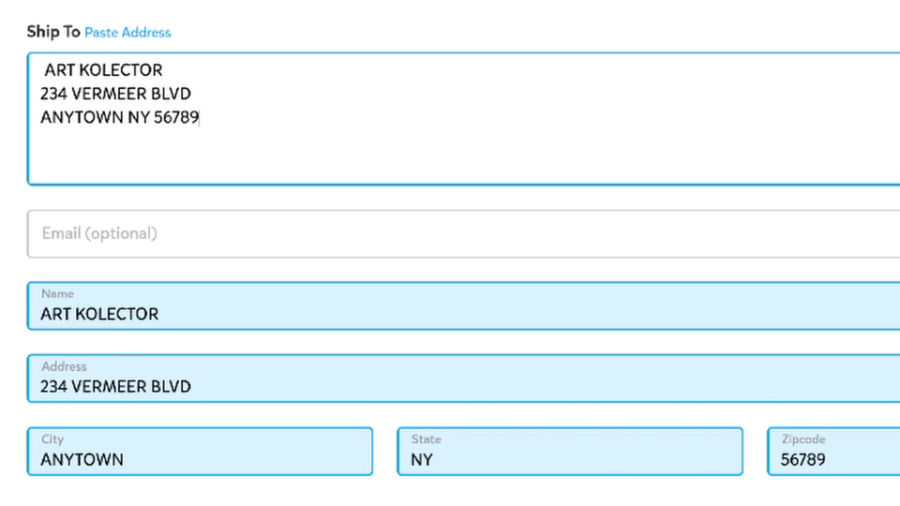
If you paste the address into that field it will automatically fill out all of the address fields for you. You can watch the YouTube video if this doesn’t make any sense to you.
They give you the option you use UPS or USPS. Once you select one, then you have to select the type of envelope you’re using. They have all of the ones that you can get for free from the post office.
Printing Out the Postage on Label Stock
Once you pay for the postage you can then print out the label. There’s an option to print directly from the interface, but you can also download a PDF.
Usually, I print the PDF from the preview app on my Mac. You can use whatever PDF viewer you prefer.
Below is a mock-up of what the PDF will look like. I used the example address and removed the real bar codes.
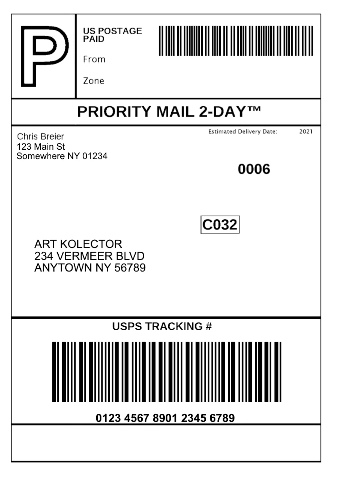
I find that it’s easier to spend a little time setting up a print preset. That way you can just select it the next time you present out a label.
The Best Label Printers for Shipping Art From Home
You have plenty of options for printing your own shipping labels from home. These option vary in price by a large amount. If you have a printer at home you may only need to buy some compatible labels for it.
If you don't want to buy a dedicated label printer, you can use these labels in a regular inkjet or laser printer. They're letter sized and there's two sheets per label.
That’s what I do and here are the labels that I use. These are letter size labels and each sheet contains two labels. Since there are 50 sheets you actualy get 100 labels.
Each label measures 8.5″x5.5″ which works well because the standard label size for priority mail is 4″x6″.
It doesn’t matter that these labels are a little bit larger than that. In fact, that will give you a larger margin of error for printing.
I have a basic black and white laser printer from Brother. It’s from 2010 and it still works. I don’t think they make it anymore.
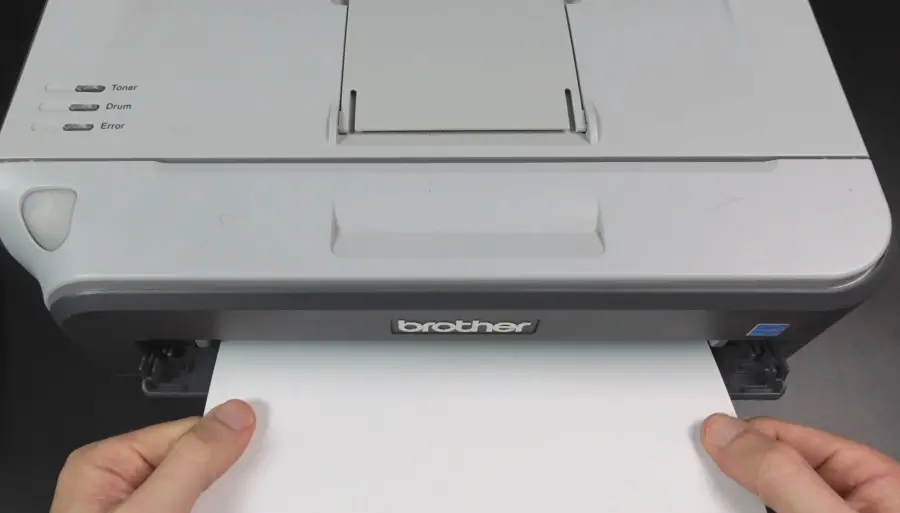
You can probably use any printer that can print on label stock, so if you have a printer, check the manual for instructions on how to print labels.
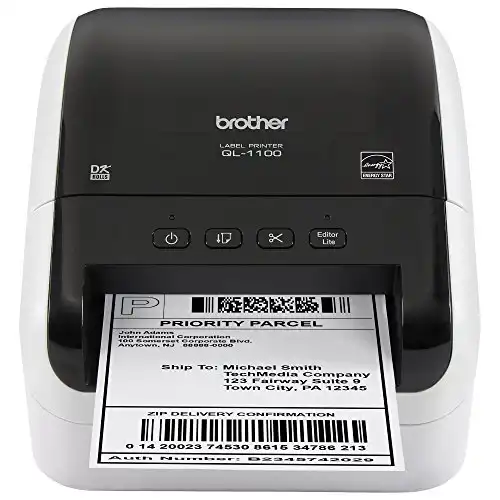
If you don’t have a printer you might want to consider buying a dedicated label printer. Below is the printer that I want to upgrade to.
This is the top of the line label printer that I recommend. You can just load it with a roll of 4″x6″ labels and print out your postage in no time.
There’s also a wireless version. It may be worth the extra expense to get the wireless version if you don’t want to clutter your desk with wires. It will also allow you to setup the printer further away from your computer.
You can print to it from a Mac or PC.
Whichever label printer you decide to purchase, it will be a lot more convenient than the printer that I use in the video. I have to set up the by pass tray and then feed a sheet of label stock into it.
Feeding the labels into the printer is faster than driving to the post office, but I do have my eye on that Brother wireless printer!
How to Schedule a Free Pick Up
Once you print the label out and stick it to the envelope, you’re almost done! You have a few options for getting it into the system.
One of my favorites is to schedule a free pick up. You can do that right from the Pirate Ship website or on the USPS website.
In Pirate Ship there’s a button that says “schedule pick up”. Once you click it, you just have to enter your address, where you plan on leaving the package (side door, porch, front door etc.), and how much it weighs.
The mailman will come and pick it up from your house and you don’t have to go to the post office. It may take a day or two. If you’re in a hurry, you can also drop it off at the post office.
This is still faster because you won’t have to wait in line.
You already paid for the postage. Some post offices have designated areas for packages that have prepaid postage. Or you can just walk up and hand it to an employee.
Another option is to place the package in a blue collection mailboxes. I’ve done this but the 9×12 padded envelop only seem to fit in the ones that have the drop slot at the top. The blue collection mailboxes that have the door that you pull open are too small for these.
If you’re unsure, you might want to talk to someone at your local post office about where you can drop off your packages.
Tracking Numbers
Another cool feature of pirate ship is that it tracks the package for you. If you enter the customers email address, it will also send the tracking number to them automatically.
But you can also just click on the clipboard symbol next to the tracking number and it will copy it to your clipboard. Then you can paste it into an email and send it to the customer.
The site also shows the progress of the package and a map of where it’s heading to.

When you log in, it shows all of your previous packages. You can see that view in my video. However, I did blur it out to hide the addresses.
I find that this is very convenient, especially if you’re shipping more than one painting. I just log in to my pirate ship account and I can see what stage each package is at without having to enter individual tracking numbers.
Final Thoughts
Shipping artwork can be easy to do if you take the time to figure out a system for it. Having the right supplies and equipment will make a big difference.
You will save time by not having to drive to the post office and you don’t have to wait in line.
This will give you much more time for more important things like making more paintings or marketing your artwork.


